DISTRIBUTOR-FIRST SUPPLY PARTNER · SINCE 1999 Live · Compressed Air System

SPC Company
Compressed Air / Control / Compressor Control Valves / Discharge Check Valve
Layer 05 · Control Performance · Kingston Value · Conrader
What it is

Discharge Check Valve

Compare tiers ↓

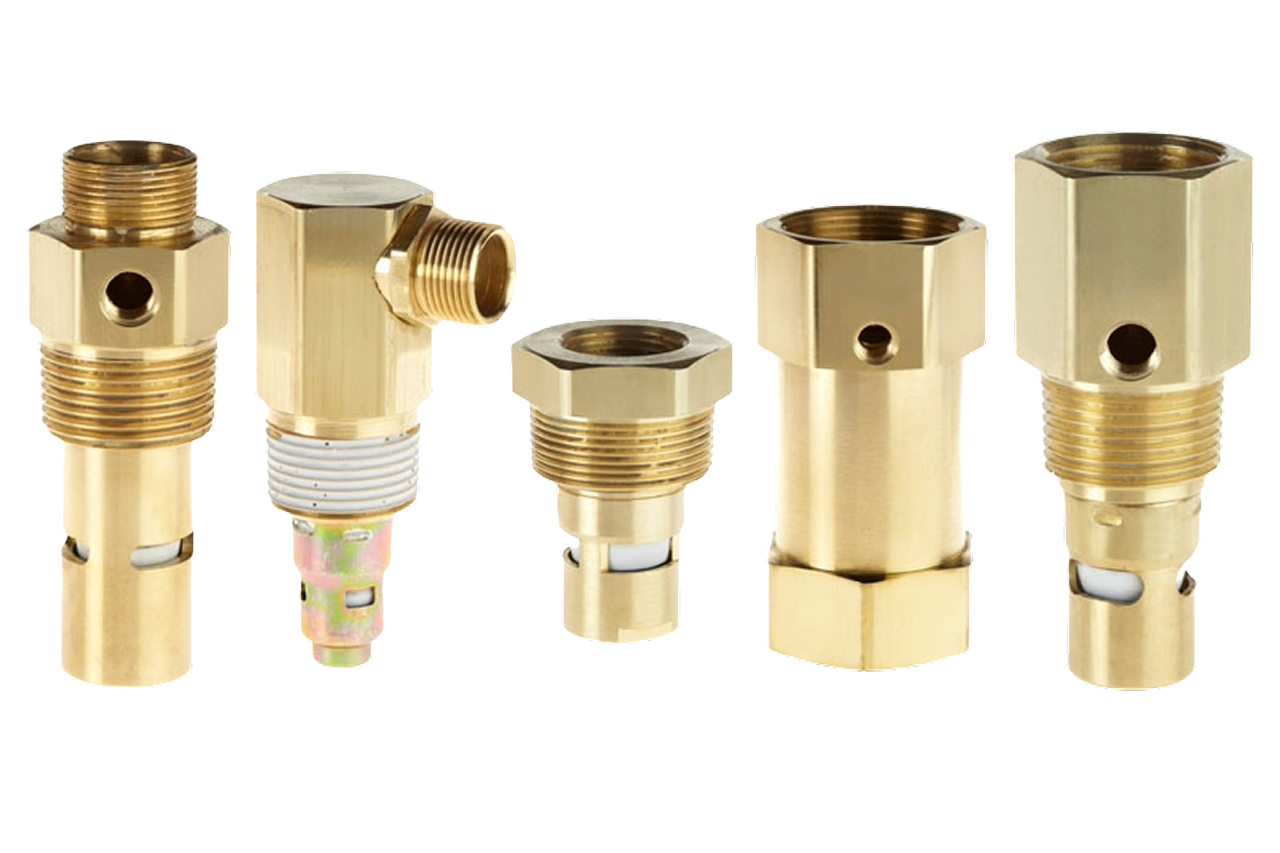
A discharge check valve is a one-way valve that installs on the compressor discharge line and permits compressed air to flow only outward, from the compressor toward the receiver. It combines a disc and seat held by a light spring: forward flow pushes the disc open against the spring; reverse pressure differential (high downstream, low at the head) snaps it closed against the seat. It sits in the control layer of the compressed air system, between the compressor and the air receiver, and works in concert with the unloader, often combined into a single piloted unit on packaged rotary screws. The classic symptom of a failed check is system pressure creeping back up after shutdown, audible backflow at the intake, or oil mist blown out of the intake filter on a reciprocating compressor. Selected by compressor make / model / HP cross-reference, with the connection size matched to the discharge-port thread and the temperature rating matched to the compressor type (rotary screw 180-210°F, reciprocating 300-400°F).
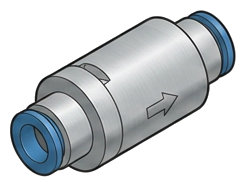
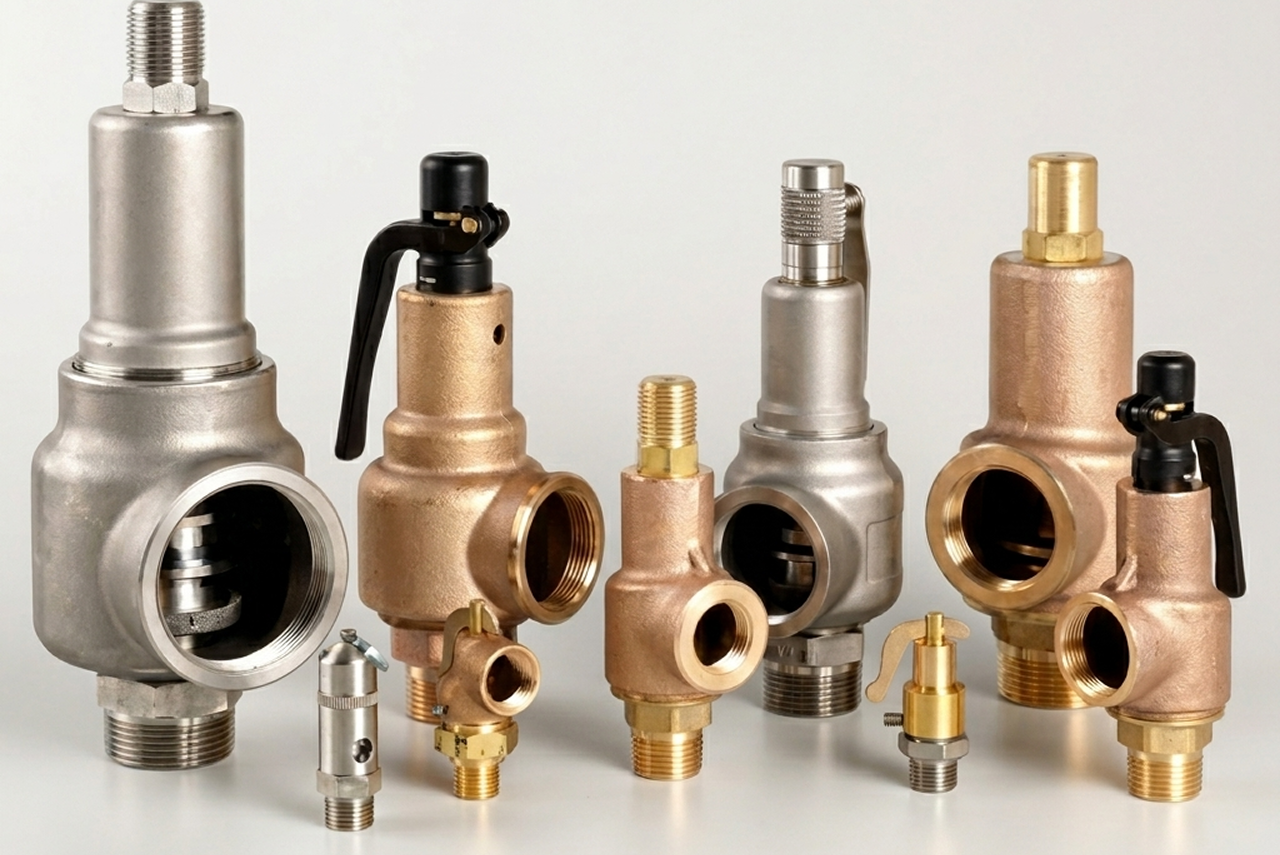
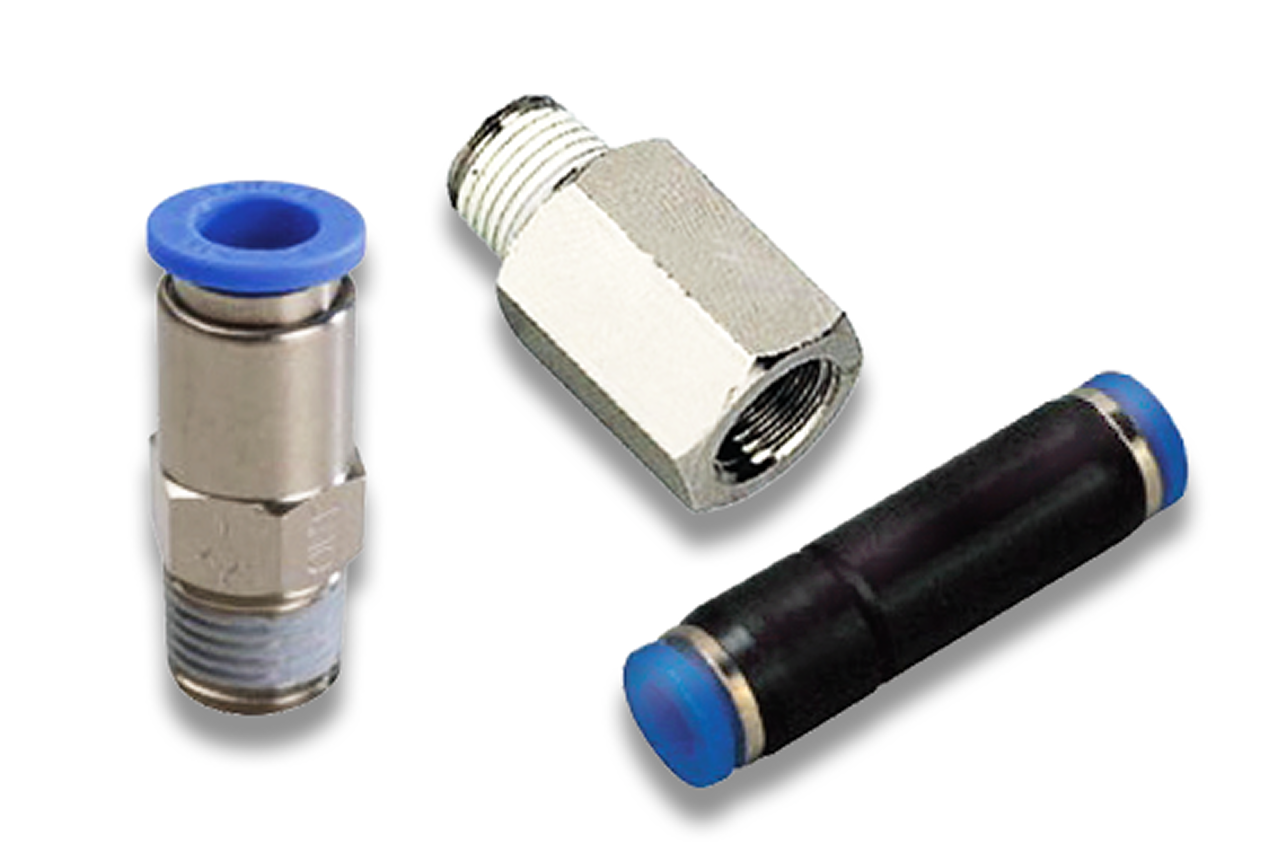
Pictorial Representative discharge check valve
Discharge Check Valve — representative illustration
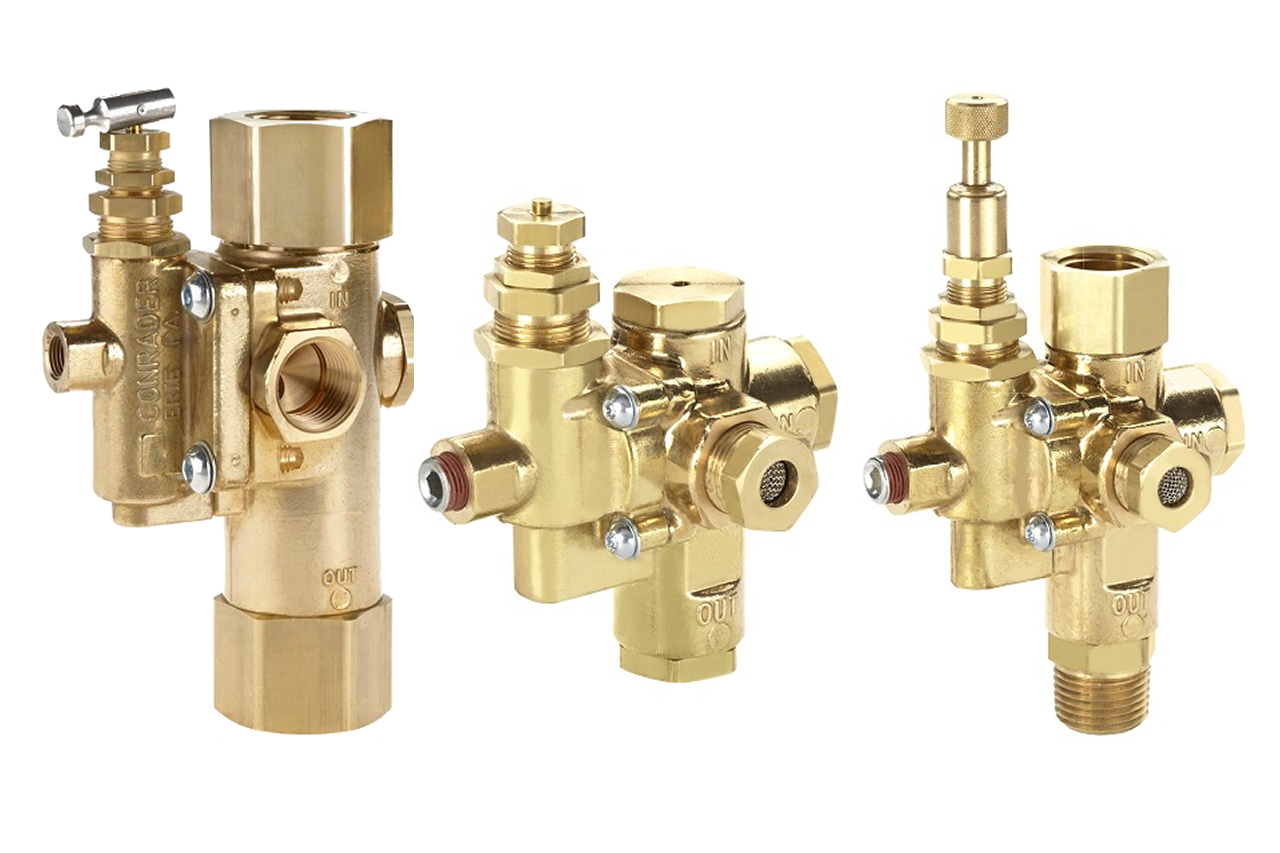
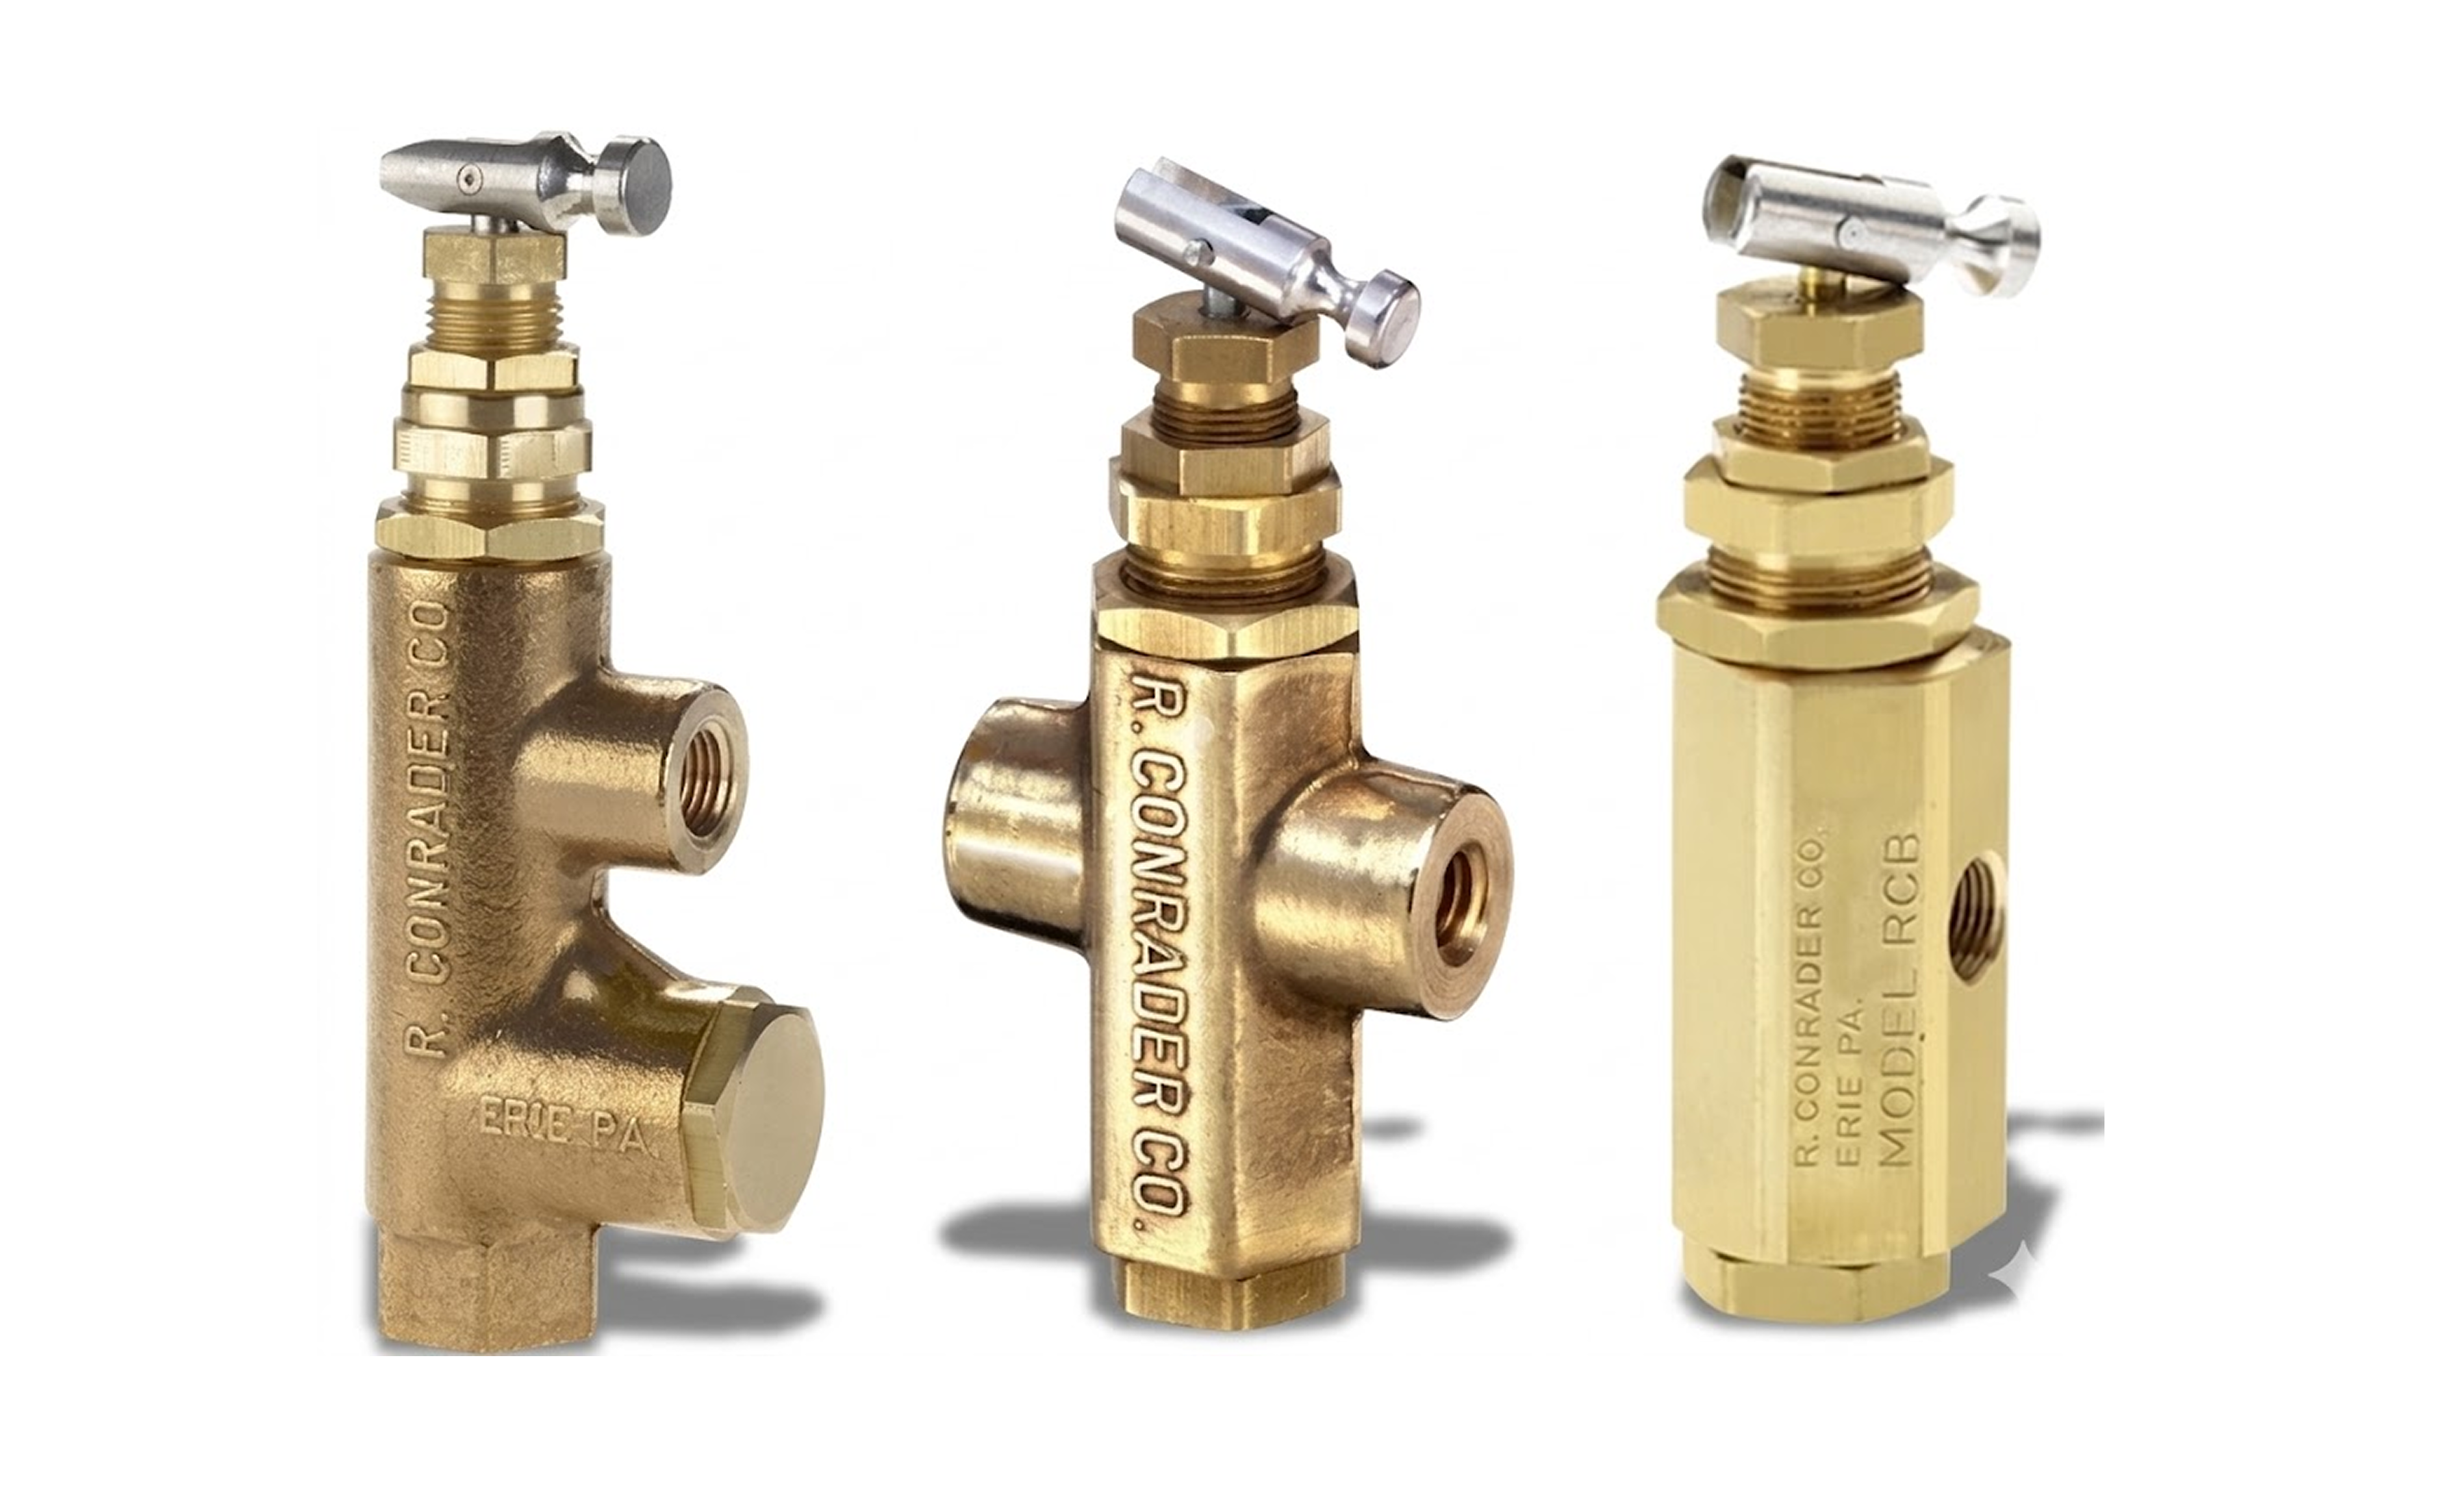
Real-world reference Representative discharge check valve
Discharge Check Valve — representative product photo
Why it's needed

Why this matters.

The discharge check protects the air-end. Match the valve to the discharge conditions. Review the points below.

01 · Key point
It stops reverse rotation.

On shutdown, receiver pressure tries to rush back through the head. On a rotary screw that spins the rotors backward: bearings, seals, unloader actuator damaged in a single event. The check is the one part standing between the customer and a $15K-$40K air-end rebuild.

02 · Key point
It enables unloaded starts.

The check traps downstream pressure so the unloader can vent the head to atmosphere. Next start is against zero load. Without it, every start fights full system pressure, pits contactors, slips belts, trips overloads.

03 · Key point
Mandatory on every compressor.

Every reciprocating and every rotary screw in the territory carries one, head plumbing, discharge line, or built into a piloted combination unit. Recurring service line on every PM: 2-5 years reciprocating, 5-10 rotary screw, annual on heavy continuous-load.

04 · Pro tip
Spec by compressor cross-reference.

Pull make / model / HP off the nameplate and resolve to the OEM part number, that single input fixes connection size, temperature rating, and standalone-vs-combination. Industry Leader tier piloted units rated to 400°F; in-line / in-tank to 450°F. Match temperature ABOVE peak discharge.

05 · Where not to use
Generic hardware-store check.

Cold-water-rated checks fail within months on a 350°F reciprocating discharge, thermal degradation, seat fails, backflow returns. → Re-spec to compressor-service-grade check at matched temperature rating.

06 · Where not to use
Undersized for compressor SCFM.

A check below the compressor's full-load flow flutters at operating SCFM: disc chatters against the seat, accelerating wear and creating audible click-click on loaded run. → Step up to a body sized to full-load SCFM at matched connection.

07 · Where not to use
Replacing the unloader instead.

When the symptom is hard-starting, the unloader is being asked to vent a head still feeding from the receiver through a leaking check. New unloader fails the same way six weeks later. → Replace the discharge check first; inspect the unloader at the same lockout.

Key selection criteria

What we need to spec it right.

From the machine spec sheet to the part number. Answer what you know, leave the rest blank, and send.

04Choose your priority  ·  core differentiator

Whatever your lever — performance, value, or price — SPC has the right brand.

Pick the priority; the quote desk handles the cross-reference.

01 Performance 1 brand
02 Value 1 brand
Where it's used

Industries served.

Each industry below uses this product across the listed areas. Open an industry to see how it fits the rest of its system.

Also applies to Reciprocating compressors, all sizes · Hot-discharge-rated (300-400°F) valves are required. · Rotary screw compressors with standalone discharge checks · Rotary screw compressors with combination unloader-check units · Highest-dollar replacement in the category · Multi-stage / two-stage industrial compressors · Portable contractor compressors and small commercial machines · Duplex and triplex compressor systems · failure of one causes one compressor to back-feed when another is running, creating reverse-rotation events on the off-duty unit · Compressor service-route customers · Air-end rebuild events

Install · 6 critical steps

The things that matter on the first install.

Step 01
Confirm cross-reference and verify temperature rating before purchasing
Get compressor make, model, HP, and the existing valve part number. Cross-reference to the matched compressor-service-grade valve, confirming the temperature rating exceeds the compressor's peak discharge (rotary screw 180-210°F, reciprocating 300-400°F, multi-stage may need 450°F). Verify the connection size and thread type (NPT, BSPT, SAE 45° flare) matches the existing port.
Step 02
Depressurize and lock out
Stop the compressor, vent the receiver and discharge line to 0 PSI, lock out and tag out the disconnect. The discharge check has hot, high-pressure air on the receiver side: opening it under pressure or while hot is a serious injury risk. Confirm 0 PSI on the gauge and allow the discharge piping to cool to safe handling temperature before disassembly.
Step 03
Remove the old valve, note the flow arrow, inspect the piping
Mark the flow-direction arrow before removal; the new valve must install with the arrow pointing compressor-to-receiver. Use wrench surfaces on the valve flats (not the body). Inspect the discharge piping for scale, varnish, or carbon deposits from past blow-by; flush the line if needed. Carbon and scale ingested by the new seat causes premature failure.
Step 04
Apply thread sealant and install with correct flow direction
Use compressed-air-rated sealant (PTFE tape 2-3 wraps in the direction of engagement, or liquid pipe sealant rated for the pressure and temperature). On reciprocating discharge, sealant must be high-temperature rated (standard PTFE good to ~500°F). Install with the flow arrow pointing compressor-to-receiver; installing backwards prevents normal operation. Torque on the valve flats, over-torquing distorts the body and damages the seat.
Step 05
Reconnect pilot air line (combination units only)
Combination unloader-check units have a small pilot line connecting the check section to the unloader pilot port. Reconnect with fresh sealant or fresh compression fitting; route clear of hot surfaces. A leak in the pilot line causes intermittent unloader faults six weeks later.
Step 06
Pressurize and verify no backflow on shutdown
Restart the compressor, bring the receiver to operating pressure. After the next cut-out, listen at the intake filter; there should be silence after the unloader's normal venting. Then hold pressure on the receiver with the compressor off for 30-60 minutes; drop greater than 1-2 PSI/hour means either the new check is leaking or there are downstream leaks (soap-bubble check). Document install date, cross-reference, and calendar the next replacement (2-5 years reciprocating, 5-10 rotary screw).
Troubleshoot · top failures

Most returns trace to one of these causes.

Symptom
Most likely cause
Fix
Audible backflow at the intake on shutdown (oil mist on reciprocating, rushing-air sound on rotary screw)
Check valve seat is leaking, stuck partially open, or, on combination units, pilot air line has come loose and the unloader is venting through the receiver-pressurized side. On reciprocating, sustained backflow also damages intake valves which then leak on the next cycle, masking the original failure.
Confirm the symptom is at the intake (check failure) not the unloader vent (different failure). Replace the discharge check with verified cross-reference and matched temperature rating. Inspect intake valves; replace if oil-blown. On rotary screw with sustained backflow, inspect the air-end for reverse-rotation damage: seals, bearings; significant damage may require rebuild.
Receiver loses pressure overnight (1-5 PSI/hour drop)
Check valve seat leaking, allowing receiver pressure to bleed back through the compressor (then out through the open unloader). Also possible: downstream leak, drain valve cracked, relief valve weeping.
Soap-bubble downstream piping and drain valves first. If tight, the check is the leak path. Confirm by closing the receiver isolation overnight, if pressure holds with isolation closed, the leak is upstream of isolation (i.e., the check). Replace; leak rate usually drops to zero immediately.
Reciprocating hard-starts every cycle, motor labors, starter contactor pits prematurely
Check leaking, so the unloader cannot vent the head to atmosphere on shutdown; next start is against full receiver pressure. Motor labors, contactor pits from repeated high-current starts, V-belt may slip.
Replace the discharge check. Also inspect the unloader (the two work together; failure of one often hides failure of the other). Replace pitted contactors and re-tension slipped belts.
New check valve fails within months of install
Wrong temperature rating (general-service valve on hot reciprocating discharge), upstream debris damaging the seat at install, valve installed backwards, or wrong cross-reference.
Verify temperature rating against peak discharge: reciprocating needs 300-450°F, general-service 225°F valves fail in months. Flush the piping before installing the replacement. Confirm flow arrow points compressor-to-receiver. Re-cross-reference if the failure pattern repeats.
Audible click-click during loaded run (not at shutdown)
Disc fluttering at operating flow: undersized valve for the compressor's SCFM, damaged internal spring, or capacity-control cycling load/unload too rapidly, causing chatter against the seat. Flutter accelerates seat wear.
Verify the valve is sized to full-load SCFM. If undersized, replace with a larger valve at matched connection size. If correctly sized, inspect capacity-control logic for excessive cycling (often a too-narrow pressure switch differential or faulty unloader).
New check installed correctly but compressor won't build pressure
Installed backwards (arrow reversed), stuck closed at install (defective new part or install debris on seat), or, on combination units, pilot line connected to the wrong port reversing the unloader logic.
Verify flow-direction arrow points compressor-to-receiver. Tap the valve body gently with a soft mallet during pressurization to clear seat debris. If still stuck closed, depressurize and replace. On combination units, verify pilot line routing against the OEM service manual.

Get the right discharge check valve on quote in 24 hours.

Send us the application — a specialist routes you to the correct tier with a configured part. Lead-times and pricing returned within one business day.

Open quote engine ↑